Cara-Cara-Orange-Cupcake
Cara Cara oranges, available late winter to early spring, look like regular oranges on the outside, but they are red inside, much like a ruby red grapefruit. In fact, if you buy one by mistake, believing it a regular orange, you might think you’ve gotten a small grapefruit when you cut into it. They are sweet and a little tangy, though, not sour/tart like a grapefruit.

I based my cake on Martha Stewart’s Orange-Yogurt Cake recipe, making a small heart-shaped cake and a few cupcakes. This was a simple, light cake, finished with powdered sugar and served with orange slices and zest strips.

Orange Cake

I do not have a lemon zester that allows for peeling thin strips of zest, so I removed some zest with a knife and cut it into thin slices, which worked fine.

Cutting orange segments always reminds me of my grandmother, who taught me the method (thekitchenista.com has a nice tutorial).

Cara Cara Orange Cake

This cake would probably work well with any kind of citrus. I’m sure it would be a lovely summertime dessert with regular oranges or lemons. I served it after a heavier winter meal when a rich, frosted cake would have been overkill.

Chocolate Strawberry Cupcakes

These chocolate cupcakes with vanilla buttercream were filled with fresh strawberries steeped in framboise liqueur.

First, I prepared for my finishing touch by dipping whole strawberries into melted chocolate and refrigerating on a tray covered with parchment paper.

Chocolate-Covered Strawberries

While waiting for my cupcakes to cool, I heated sliced strawberries and the liqueur on the stovetop just long enough to slightly soften the berries. If you want to skip the liqueur, you can use strawberries that have been mixed with sugar to get nice and juicy.

Once the cakes were at room temperature, I used a paring knife to cut a cone out of each cupcake, added a few slices of strawberry, then reassembled. Spoon in a little extra juice or straight liqueur before, if you like, for the cake to soak up (yummy). When re-adding the cone, trim the bottom first or just press it back on! You’ll be covering up the evidence with frosting.

Strawberry-Filled Chocolate Cupcake

Once frosted, I pulled out my chocolate-covered strawberries to finish up these birthday-worthy cupcakes.

Scott's Cupcake
Photo by Scott A. Ettin (aka the birthday boy)

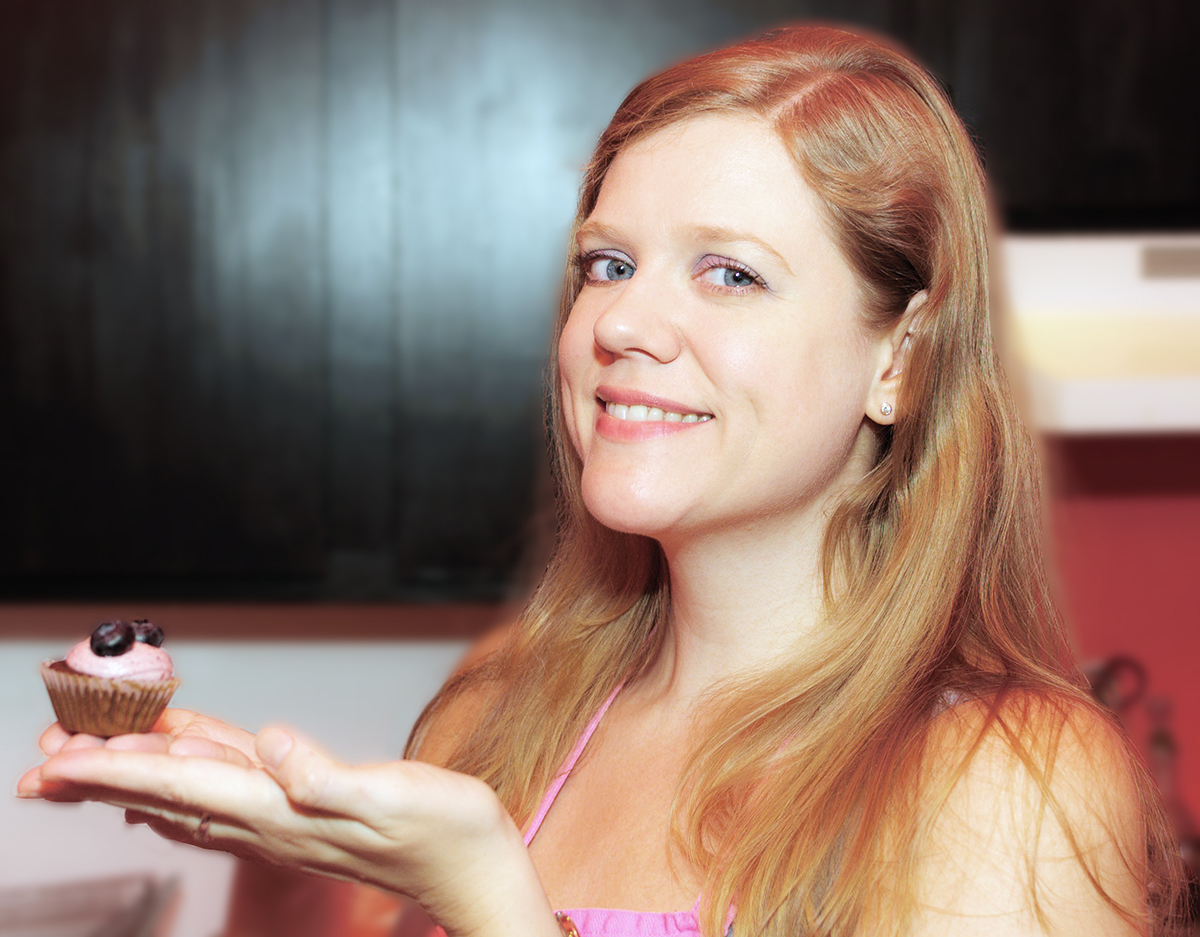
Baking cupcakes is of course my true passion, but it doesn’t hurt to try new things in the world of baked goods! I’ve had friends and blog readers ask if I ever bake other sweets. Ok, ok, I do! I decided to try something different last weekend and signed up for a French Macaron Class at Mille-Feuille Bakery on LaGuardia Place in NYC.

macaron_rainbow

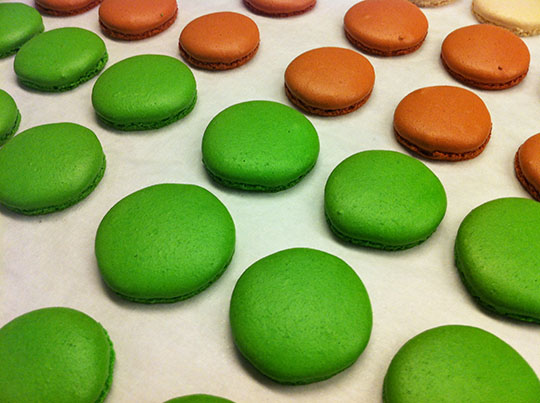
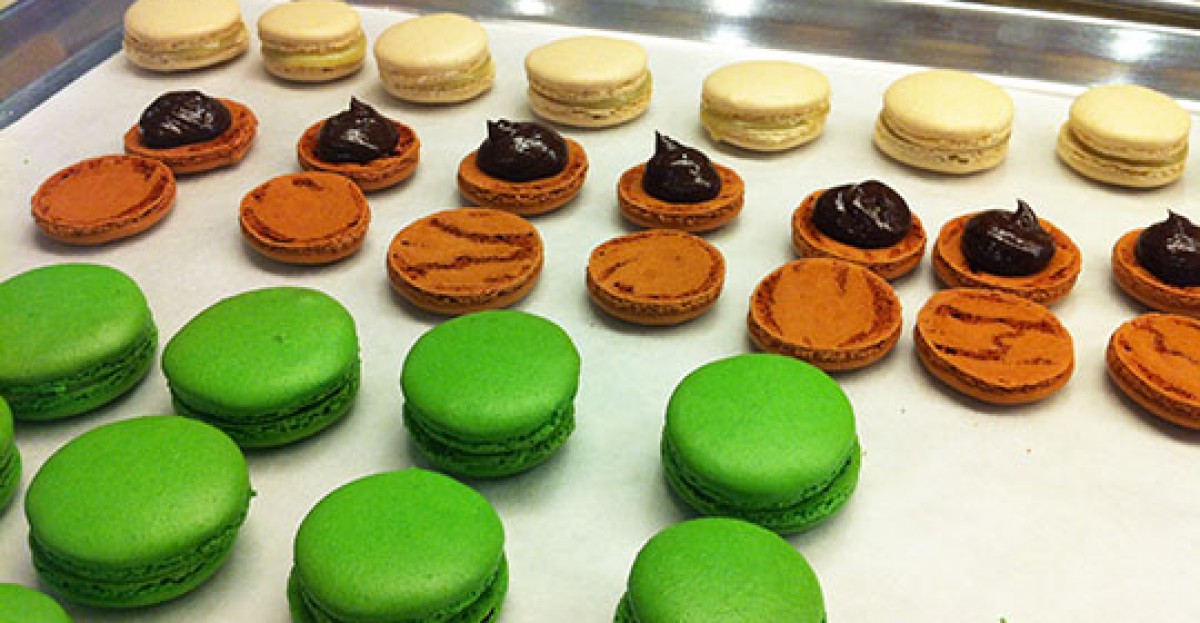
Macarons are made up of what are basically meringue shells with a variety of fillings. Most of the flavor actually comes from the fillings, which was a surprise to me. The color in the shell is usually just food coloring! Chef Olivier at Mille-Feuille did mention that the chocolate shells could be made by replacing 15-20% of the almond flour with cocoa powder, but we did not do that for this batch.

colorful_almond_flour

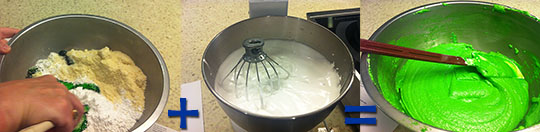
The shells contain just egg whites, almond flour, and sugar (both powdered and granular). We whipped the egg whites, then poured in heated sugar syrup. Mixed with the almond flour, powdered sugar, and food coloring, we had our batter.

mixing_macarons

Some of the tips we were given were to use aged eggs, not very fresh eggs, and to separate them ahead of time, letting the whites sit 2-3 days (refrigerated but brought to room temperature before using). Olivier also cautioned us not to buy pre-separated egg whites, that they are often not of high enough quality to ever whip to firmness.

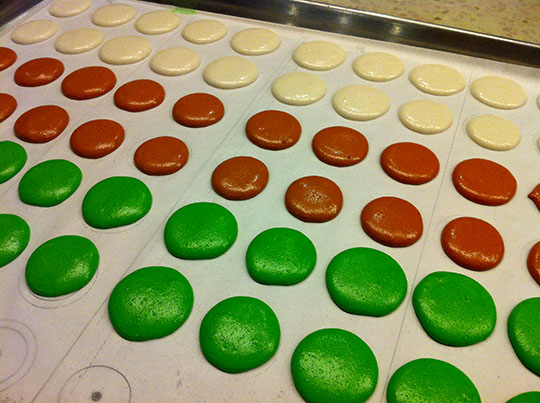
What was different about making macarons versus making cupcakes? The main place that my skills led me wrong was in the piping. Piping icing on a cupcake, I move in circles, holding the bag at an angle and pulling up at the end, creating a nice peak. With macarons, in both piping the dough and the filling, you must keep your piping bag very steady, the tip the same distance away and straight up and down. You want a very smooth, even circle and no peak! A little variation is ok, I found, as the next step takes care of that. After piping the batter, you hit the bottom of the pan firmly (and loudly!) until they do smooth out into nice, uniform dots.

raw macarons baked_macarons

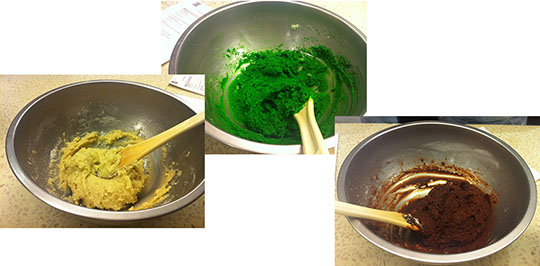
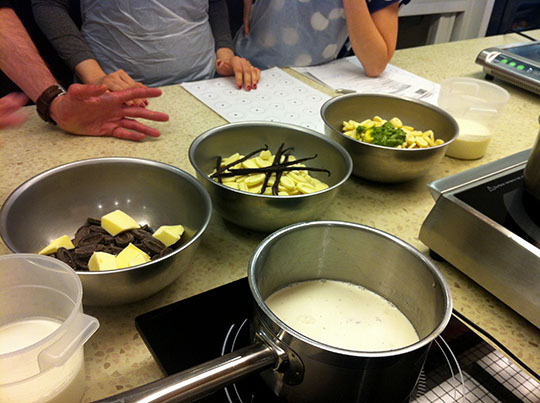
Next, you make the filling. You can make macaron filling from most any flavor you can imagine, but we stuck to chocolate, vanilla, and pistachio. All involve cream, and both the vanilla and pistachio used white chocolate. For the vanilla, we put in vanilla beans; to the pistachio we added pistachio paste. For the chocolate filling, we added chocolate, butter and honey to cream.

fillings

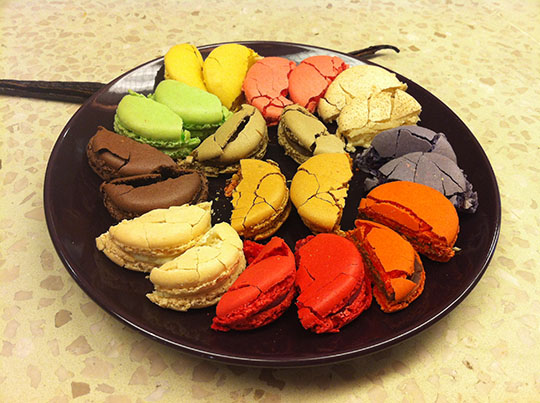
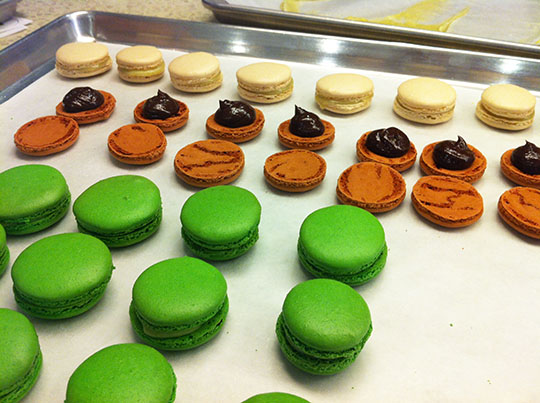
Match the baked shells by size, then pipe on your filling. Et, voilà! You have French Macarons.

Well, not quite yet. The macarons must be refrigerated for 18-24 hours to reach the desired texture and for the flavors of the shell and filling to combine. Olivier recommended they be taken out about 20 minutes before serving.

macaron_construction

It was fun to try baking something different. I hadn’t really known how macarons were made. I thought maybe some sort of mold was used? It was a lot easier than I expected! Yet they feel so…fancy. Tasty, though! They were not too pretty to eat.

Thank you to Vimbly for finding the macaron class for me and providing a discount for my baking adventure! Vimbly.com is a website that helps users discover and book activities like this baking class and many, many more fun recreations around New York City.

Donut on cupcake - chocolate mint

A friend gave me a mini donut maker for my birthday in January, and I’d been wanting to try it out. Putting donuts on cupcakes was—surprise, surprise—my first thought. Another friend’s birthday party gave me the opportunity to play with my new toy!

The Bella Mini Donut Maker works like a waffle iron and makes baked donuts, not fried. Because Bella recommends you discard the first batch (due to possible slight smoking on first use of a new machine), I doubled the vanilla donut recipe and froze the leftovers. They’ll make a nice quick dessert sometime, maybe sporting some of the extra icing from past cupcake projects that I also have in my freezer.

vanilla mini donuts

I melted a dark chocolate candy bar over low heat and stirred in a splash of pure mint extract. I dipped the teeny donuts in this gooey goodness, fully coating each all around.

chocolate donut

I lifted them out of the pot with tongs and put them on a cookie sheet I’d lightly sprayed with oil. Sprinkling them with green, a visual hint at the mint flavor, I left them to dry.

chocolate donut sprinkled

I made regular chocolate cupcakes (the same from here and here) from my favorite just-rich-enough chocolate cupcake recipe, and I whipped up a buttercream with mint extract. My frosting came out very fluffy this time and had a slight foaminess. I don’t know if it was because I used soy milk, though I’ve done that before, or if I unintentionally mixed it somewhat longer than normal. Perhaps it was a combination of both or some other factor. Tasted just fine!

I tried a new tip for frosting the cupcakes, an Ateco 806. I went a little heavy on the icing until I realized I might run out. I wasn’t very precise with this larger tip than I normally use on cupcakes (need practice!), but I just wanted good dollops of “glue” to hold my delicious creations together!

As I constructed these, I laughed at both the brilliance and the ridiculousness of putting donuts on top of cupcakes. Really, I giggled out loud.

chocolate mint donut cupcakes
Chocolate cupcakes frosted with mint buttercream; cupcakes with chocolate-dipped donuts

They were well received by the birthday party guests! I also donated one to a newly married couple celebrating with friends at the next table. You can’t keep cupcakes topped with donuts to yourself.


Carrot cake is my most requested cupcake, and I’ve had fun experimenting with the classic ingredients (see Carrot Zucchini Chocolate Chip Cupcakes and Carrot and Crystallized Ginger Cupcakes). This time, however, I’m not messing with the original. These are straight up carrot with raisins. Add nuts, if you must.

Note: When I first started baking carrot cupcakes (pre-blog), I used Ina Garten’s Food Network recipe. The recipe below is loosely based on that recipe. Key differences are that I use butter instead of vegetable oil and cook a shorter time.

Read the Story of this Batch!

Recipe: Carrot Cupcakes

Makes 2 dozen cupcakes

2 1/2 sticks butter
2 cups sugar
1 teaspoon vanilla extract
3 large eggs
2 cups flour
2 teaspoons baking soda
2 teaspoons cinnamon
1 1/2 teaspoons salt
1 pound grated carrots
1 cup golden raisins

Preheat oven to 350° F and line muffin pans with 24 paper liners.

Using an electric mixer, cream the butter and sugar. Add the vanilla, then mix in the eggs, one at a time.

In a separate bowl, sift together the flour, baking soda, cinnamon, and salt. Add half of this flour mixture to the mixing bowl, reserving half, and mix completely.

Add the grated carrots and raisins to the remaining flour and mix well, then add to your batter in the mixture. Mix until just combined, do not over mix.

Fill cups with batter about 3/4 full. Bake at 400° F for 10 minutes, then reduce temperature to 350° F and cook for about 20 minutes more. Cooking time varies, so start checking after 10-15 minutes. The cupcakes are ready when a toothpick comes out clean. Remove from the oven, let cool 5 minutes in pans, then remove and cool completely on racks.

Variations: I've made these replacing the raisins with crystallized ginger or even chocolate chips. I've also used other fruits and vegetables such as zucchini or apple, reducing the amount of carrot. Lots of possibilities!

Frosting Recipe