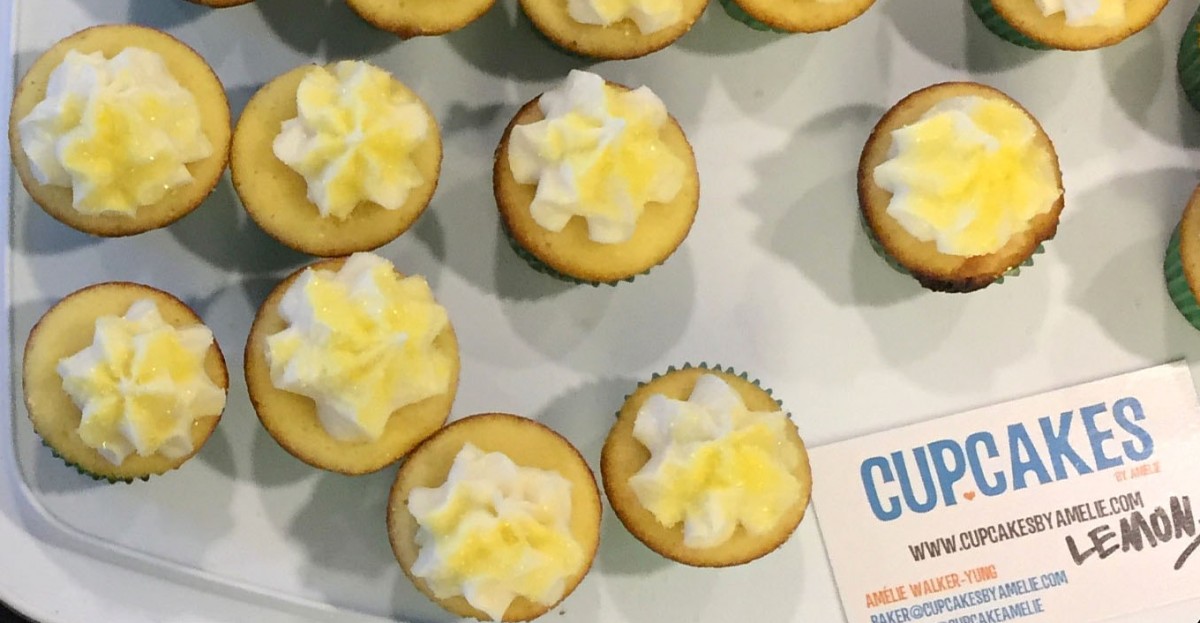
These mini rays of sunshine were bright treats for the two year anniversary of Tuesdays Together NYC (Rising Tide Society).

Recipe: Lemon Cupcakes

Makes 14 cupcakes

1 1/4 sticks unsalted butter
4 oz. cream cheese
1 1/2 cups sugar
3 extra large eggs
1/2 teaspoon vanilla extract
1 tablespoon lemon juice
1 1/2 cups flour
1 tablespoon lemon zest
1/4 teaspoon baking powder
3/4 teaspoon salt

Preheat oven to 350 degrees F. Line muffin tins with paper cupcake liners.

Cream the butter, cream cheese and sugar at medium speed, then reduce to low. Add the eggs one at a time, then add the lemon juice and vanilla extract.

Sift together the flour, baking powder, and salt. Add the lemon zest to the flour mixture. Incorporate the dry ingredients gradually into the wet ingredients, mixing until just combined.

Scoop batter into lined muffin tins with an ice cream scoop or the method of your choice (about 3/4 full). Bake for a total of 20-22 minutes, or until a toothpick comes out clean, rotating pans halfway through.

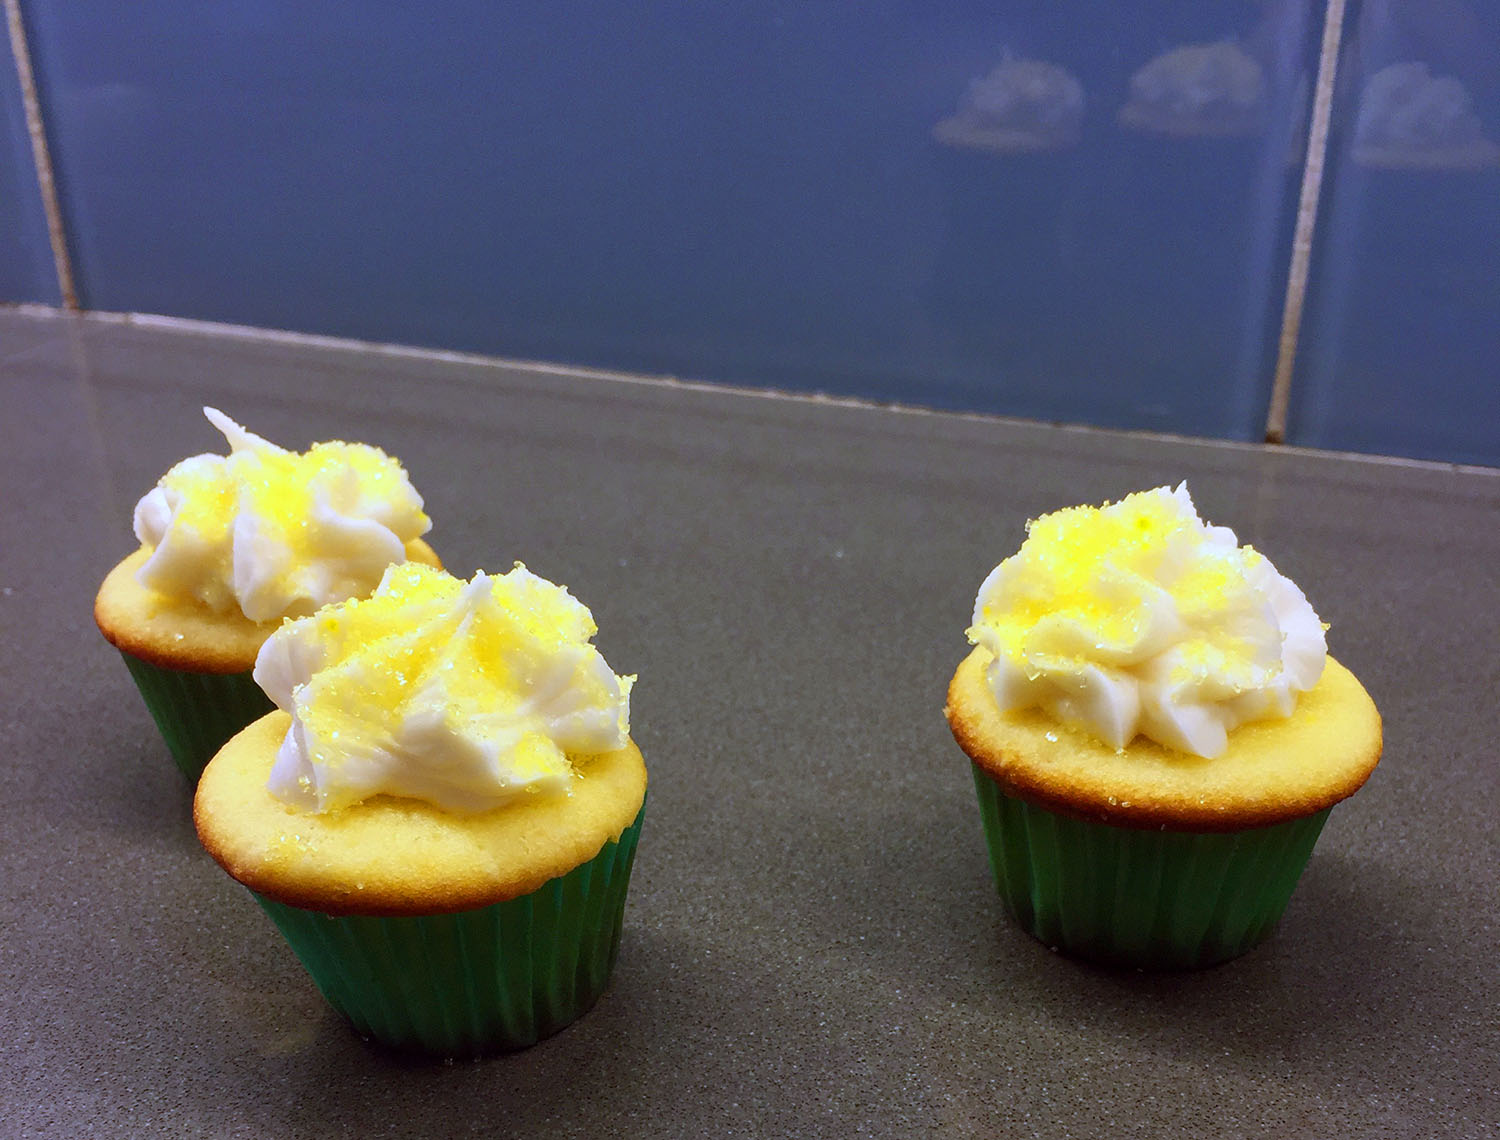
Cool for 5 minutes before removing from pan. Once cupcakes are room temperature, frost or dust with powdered sugar. (Lemon, raspberry or other fruit-flavored icings are all good choices, or get fancy with a candied lemon!)

Frosting Recipe

I’ve baked cupcakes for my friends’ son each year of his life (all 8 of them). This year he requested cherries and chocolate!

I pitted and chopped a cup of fresh cherries, which I added with mini chocolate chips to vanilla cake batter. For the tops, I grabbed a jar of maraschino cherries, the ones every Shirley-Temple-loving kiddo knows best.

Inside the Cherry Chocolate Chip Cupcake

I used cocoa candy melts to make the chocolate sauce, so my dribbles would harden à la Magic Shell. I liked the look, and it was less messy than chocolate syrup.

Kids and adults alike seemed to be fans! There was one boy who pulled the cherries off five otherwise untouched cupcakes, so I guess at least the cherries were a hit. Ah, to be 8 years old…

Recipe: Cherry Chocolate Chip Cupcakes

Makes 36 cupcakes

2 sticks butter
2 cups sugar
5 eggs
2 teaspoons vanilla
16 oz. sour cream
3 teaspoons baking powder
1 teaspoon salt
3 cups flour
1 cup chopped fresh cherries
1 cup mini chocolate chips
maraschino cherries (for tops)
Optional: Wilton Cocoa Candy Melts

Preheat oven to 350 degrees (F).

Cream butter and sugar with electric mixer on medium-high.

Lower speed and add eggs one at a time, then add vanilla. Mix on medium until light and fluffy.

Sift together the baking powder, salt and flour.

Add half of the flour mixture, followed by sour cream, and then add the rest of the flour mixture. Mix until combined.

Add the chopped cherries and mini chocolate chips, mixing on low or by hand.

Scoop cupcakes into liners and and bake for 20 minutes, turning halfway through.

Frost with vanilla buttercream, and top with maraschino cherry.

Optional: Heat Wilton Cocoa Candy Melts (or similar) to drizzle over frosted cupcakes.

Rainbow Bakes by Mima Sinclair
Rainbow Bakes
Mima Sinclair
Kyle Books (April 2017)

I was delighted to receive a copy of Mima Sinclair’s Rainbow Bakes. It is a beautifully shot, fun cookbook full of all sweets RAINBOW. If you or a little one you know is rainbow-obsessed, you need this for your baking book collection.

Sinclair’s treats range from full-sized cakes to cake in a jar and include cookies and candies, too. Rainbow Bakes not only has recipes but also offers tips and techniques on types of food coloring and sprinkles for different situations. Beware, not all sprinkles can withstand the baking process, so study up, confetti bakers!

Though there are many tempting recipes, I just had to try my hand at her Over the Rainbow Cupcakes.

Baking Rainbow Cupcakes

These cupcakes take a little work, as you must divide the batter and use food-coloring gel to make purple, blue, green, yellow, orange and red. You must then carefully fill the cupcake liners color by color, spreading each to make a distinct color layer.

Rainbow Cake Batter

Rainbow Cupcakes in progress
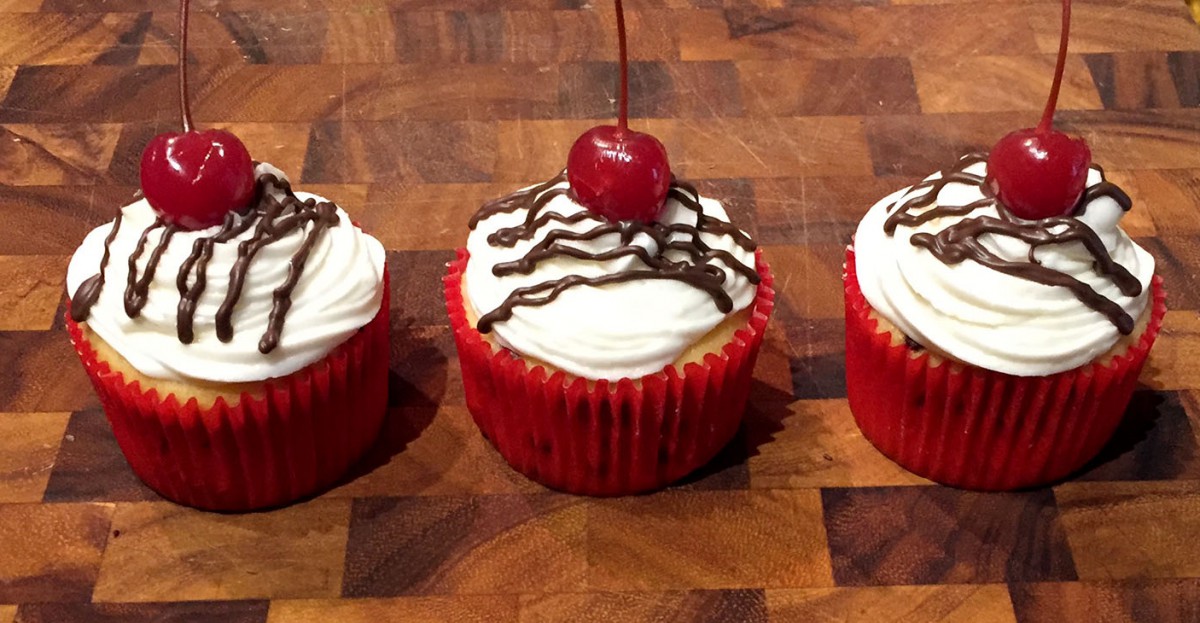
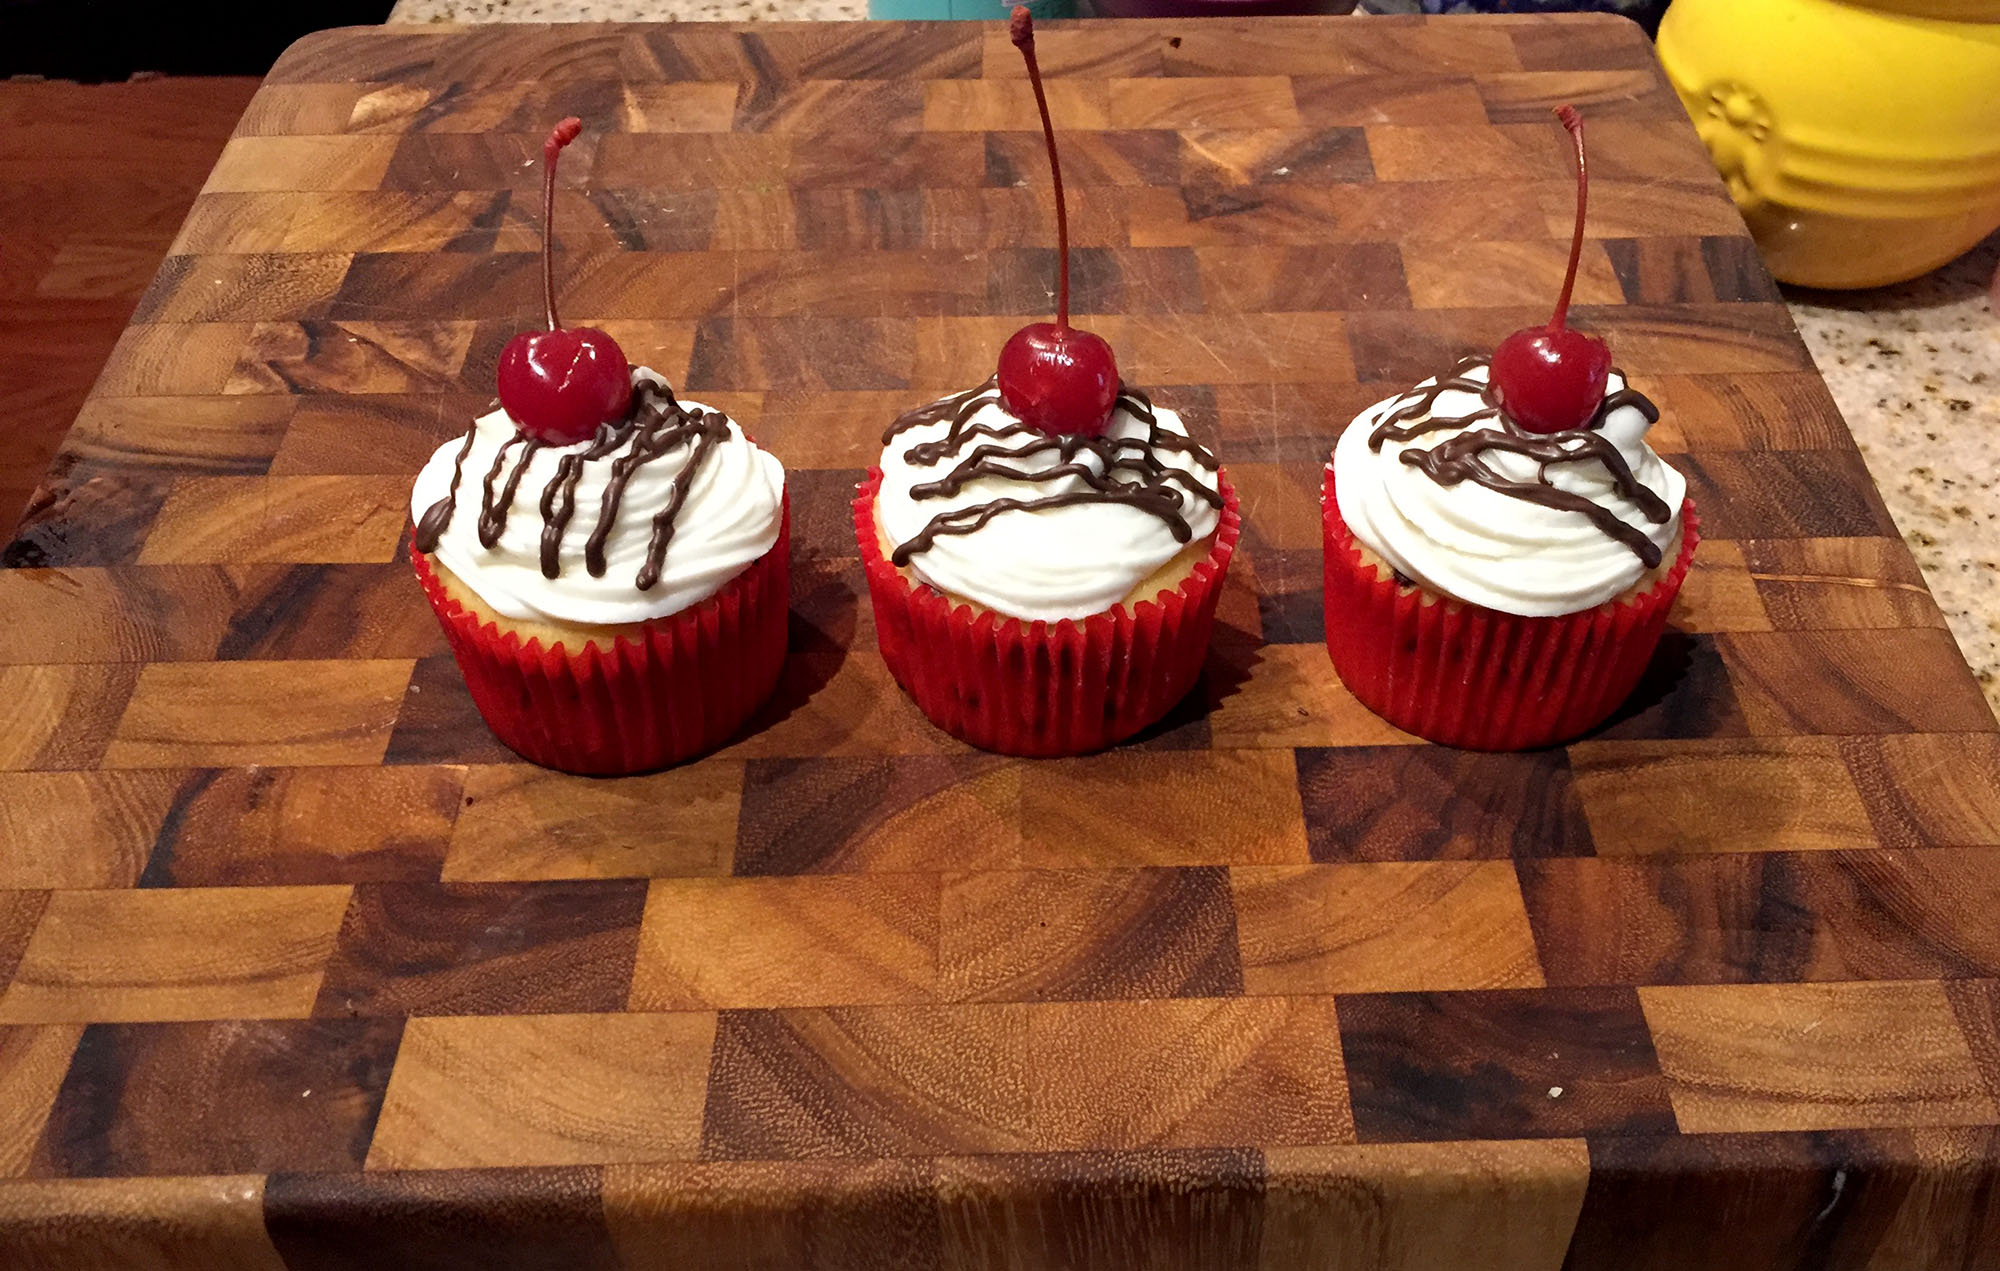
The cupcakes were good, I liked that they were not too sweet. They did come out a little salty to my taste. That may be to balance the sweet marshmallow frosting. (Yum!) If I bake these again–not sure I have the patience, though they certainly did impress!–I would use a little less salt.

Rainbow Cupcake
The layers can’t be perfect, and the batter moves around some when baking, but the result is striking!

The frosting with marshmallow fluff tastes delightful and has that fluffy cloud look. Top these off with Rainbow Fizzy Belt candies. (Thank you to my husband for the emergency run to It’s Sugar.)

Overall, these were very fun to bake, give and eat! I look forward to trying some of the other recipes next time I am in the mood for something colorful.

I received a complimentary copy of Rainbow Bakes by Mima Sinclair for review. For more information about this book, please visit the Kyle Books website.

All photos by Kate Alison Photography

Kate of Kate Alison Photography imagined a purply blue, galaxy-inspired wedding full of glitter, gathered a creative group of vendors, and made it happen! I was excited to take part in this beautiful, sparkly shoot by providing the cupcakes.

“Celestial colors and imagery have always been appealing to me,” says Kate. “I even got a telescope as a birthday gift many years ago!”

Galaxy Cupcakes

I used gum paste and edible glitter to make stars and moons to top my cupcakes, which were frosted with swirled purple and blue. More on the techniques I used, coming in a future post!

The shoot took place at Brooklyn’s Dobbin St, a tailored event space in Williamsburg. Please see below for everyone who participated!

Participating Vendors

Photography/Planning: Kate Alison Photography
Venue: Dobbin St
Day-of Coordination: One Six 9 Occasions
Paper Goods/Calligraphy: Le Petit Prints
Watercolor Art: Jaadin Adele Studio
Cupcakes: Cupcakes by Amélie 
Jewelry: Desert Daisy Jewelry
Hair/Makeup: Natasha Lynnanne
Flowers: Karma Flowers
Linens: Nüage Designs Inc
Settings: Anthony Joseph Events
Models: Mary Godwin & Timothy William

Dawn Belisle is an attorney-turned-baker who began baking alcohol infused cakes inspired by her mother’s fruit cake and hasn’t looked back since.

“Baking with booze requires knowing what flavors work well with each other while ensuring the alcohol complements the other ingredients,” says Dawn. “In a good recipe you will taste the flavor and the alcohol of the spirit used—it will enhance the recipe but the alcohol will not overpower the final flavors. It’s all about using a great tasting spirit like Van Gogh’s flavored vodkas to create that perfect balance for the palate.”

I tried out one of her recipes recently, making her no-bake chocolate-covered caramel vodka bites. I used graham crackers and arrowroot cookies that I had on hand, but I otherwise followed Dawn’s recipe below.

They were a hit! With plenty of chocolate and caramel flavor, they also packed a punch. There was no doubt these were boozy bites.

Dawn’s alcohol-infused cupcakes and other goodies can be ordered online at www.delightsbydawn.com. You may also see her at the Georgia Dome, Philips Arena, and other locations in Atlanta.

Thank you to Delights by Dawn and Van Gogh Vodka for providing me a sample of Dutch Caramel Vodka. Van Gogh crafts 16 varieties of high quality flavored vodka. Get to know Van Gogh at www.vangoghvodka.com.

Recipe: Dutch Caramel Vodka Bites

Created by

  • 1 12oz. package of vanilla wafers
  • 3/4 cups confectioners’ sugar
  • 2 1/2 tablespoons light corn syrup
  • 1/2 cup Van Gogh Dutch Caramel Vodka
  • 7 oz. Melting Chocolate (dark or milk)

Put wafers in a food processor and process until fine. If you don’t have a food processor put wafers in a sealable gallon food bag and use a rolling pin to crush until fine. Place wafer crumbs in a bowl and add confectioners’ sugar, corn syrup and Van Gogh Dutch Caramel Vodka. Mix until well until combined. Using a small cookie scoop or a heaping tablespoon, scoop the dough and roll into a 1 inch bite-sized ball.

Melt the chocolate and then dip the bites into the chocolate until covered entirely. Place dipped bites on a wax sheet of paper to harden. To decorate, add sprinkles or colored sugar before the chocolate coating hardens. Store the Dutch Caramel Vodka Bites in an airtight container. Bites are best when made ahead of time and stored for 1 to 3 days to allow all the flavors to meld before serving.